部署 VitePress 到 GitHub Pages
注意
本教程假设你已经安装了 Node.js 环境,并且熟悉 Git 命令。
在提交仓库前请运行 npm run docs:build q命令,确保文档在本地构建成功。
创建github仓库
首先,你需要创建一个 GitHub 仓库,用来存放你的 VitePress 文档。
进入github.com,点击右上角的 + 按钮,选择 New repository。

注意
仓库的名字必须为 {github name}.github.io,其中 {github name} 是你的 GitHub 用户名。
例如,我的 GitHub 用户名是 DingN03,那么我的仓库名应该是 DingN03.github.io。
Description 可以输入一些描述,然后点击 Create repository 按钮。
仓库配置
请到你的 GitHub 仓库的 Settings -> Developer settings -> Personal access tokens 页面,点击 Generate new token 按钮,勾选 repo 权限,然后点击 Generate token 按钮,复制生成的 Personal access token。
也可以直达 Deploy to GitHub Pages
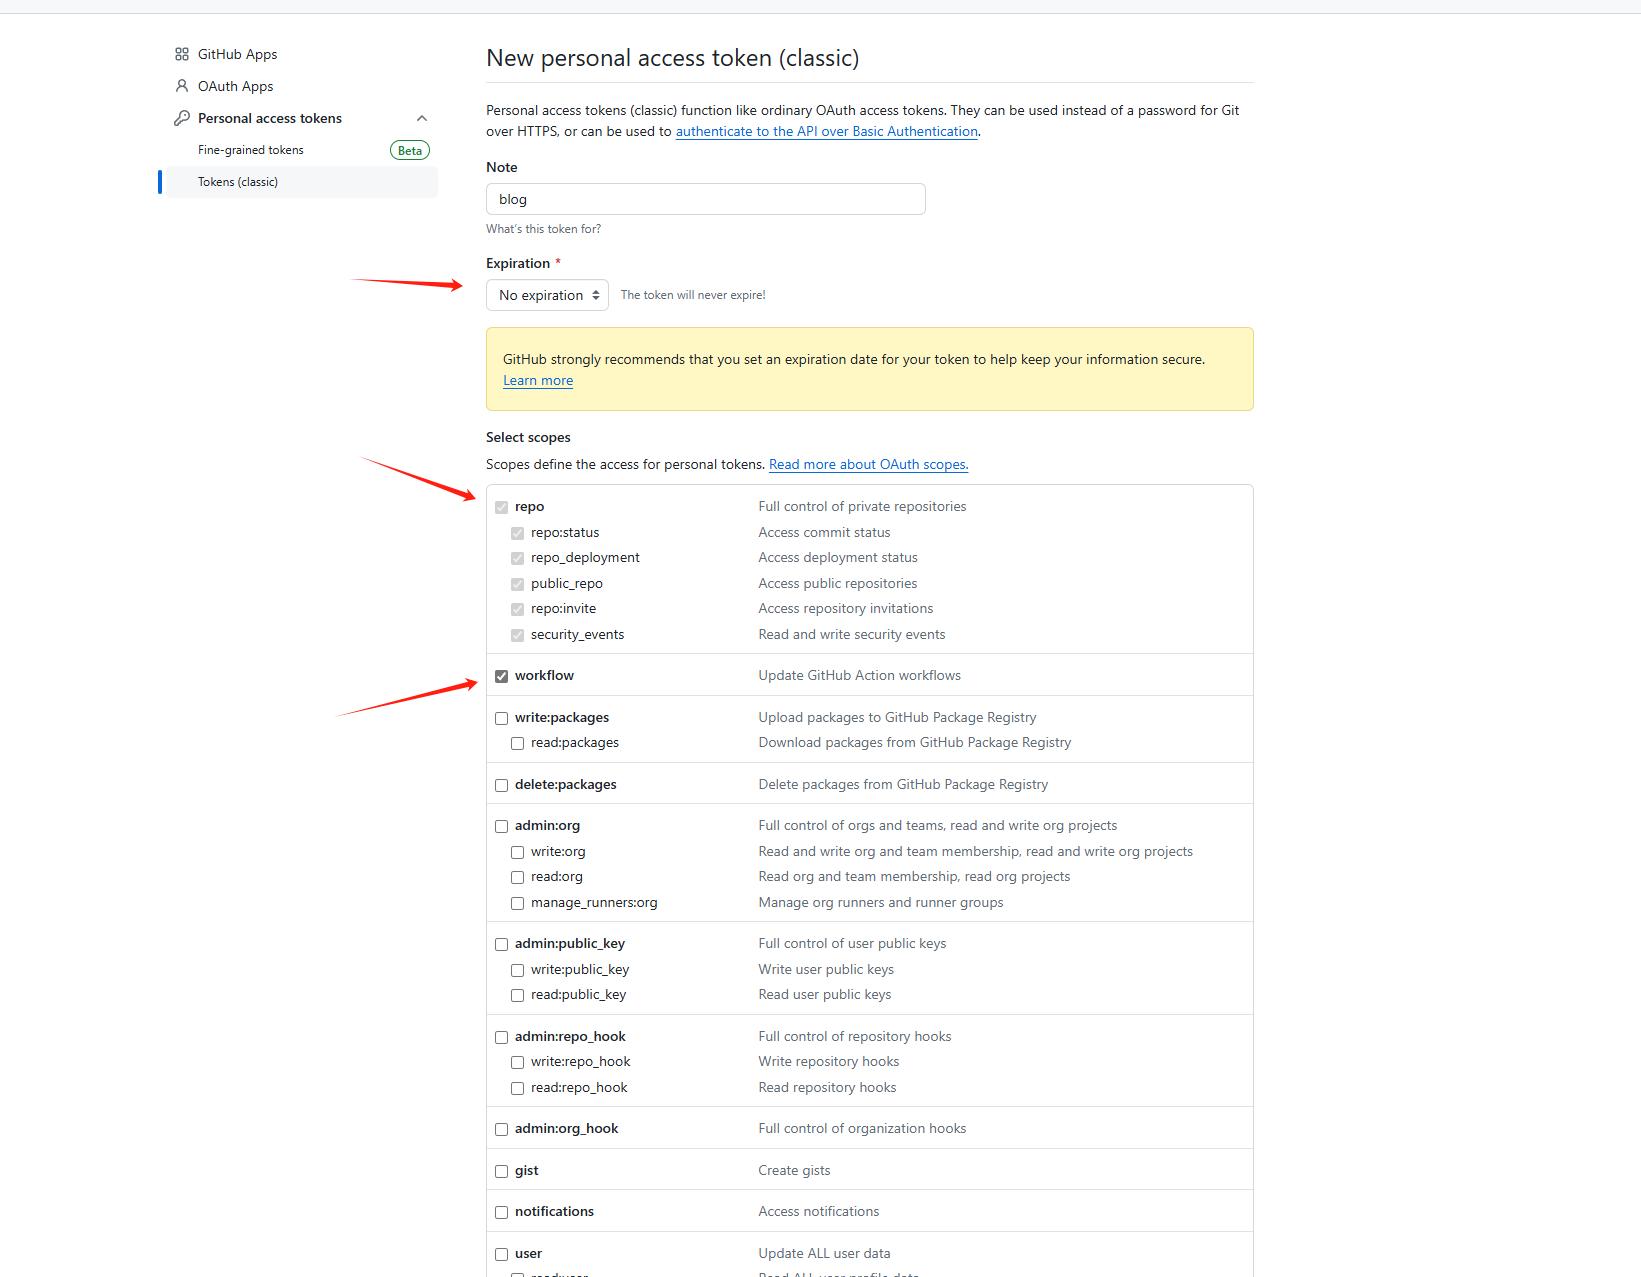
创建完成后,记得保存好 Personal access token,因为它只能在创建时显示一次。
推送本地仓库到远程仓库
在本地项目目录下,执行 git init 命令,初始化本地仓库。
然后,执行 git remote add origin https://github.com/{github name}/{repository name}.git 命令,将本地仓库与远程仓库关联。
其中
{github name}是你的 GitHub 用户名,{repository name}是你刚刚创建的仓库名。如
git remote add origin https://github.com/DingN03/DingN03.github.io.git
将本地主分支设为 main 分支,执行 git branch -M main 命令。
新增本地文件,执行 git add .github/ docs/ package.json package-lock.json 命令,将所有文件添加到暂存区。
提交本地代码到远程仓库,执行 git commit -m "first commit" 命令,提交本地代码。
最后,执行 git push -u origin main 命令,将本地仓库推送到远程仓库。
提交会有提示权限问题,需要登录你的 GitHub 账号,然后输入你的密码。
github的可以通过上面创建的token来代替密码登录
如果出现以下提示:
` ! [remote rejected] main -> main (refusing to allow a Personal Access Token to create or update workflow `.github/workflows/deploy.yml` without `workflow` scope)`则是上面 github 仓库配置未勾选 workflow 权限导致的。
查看部署状态
进入你的 GitHub 仓库,点击 Actions 选项卡,查看部署状态。
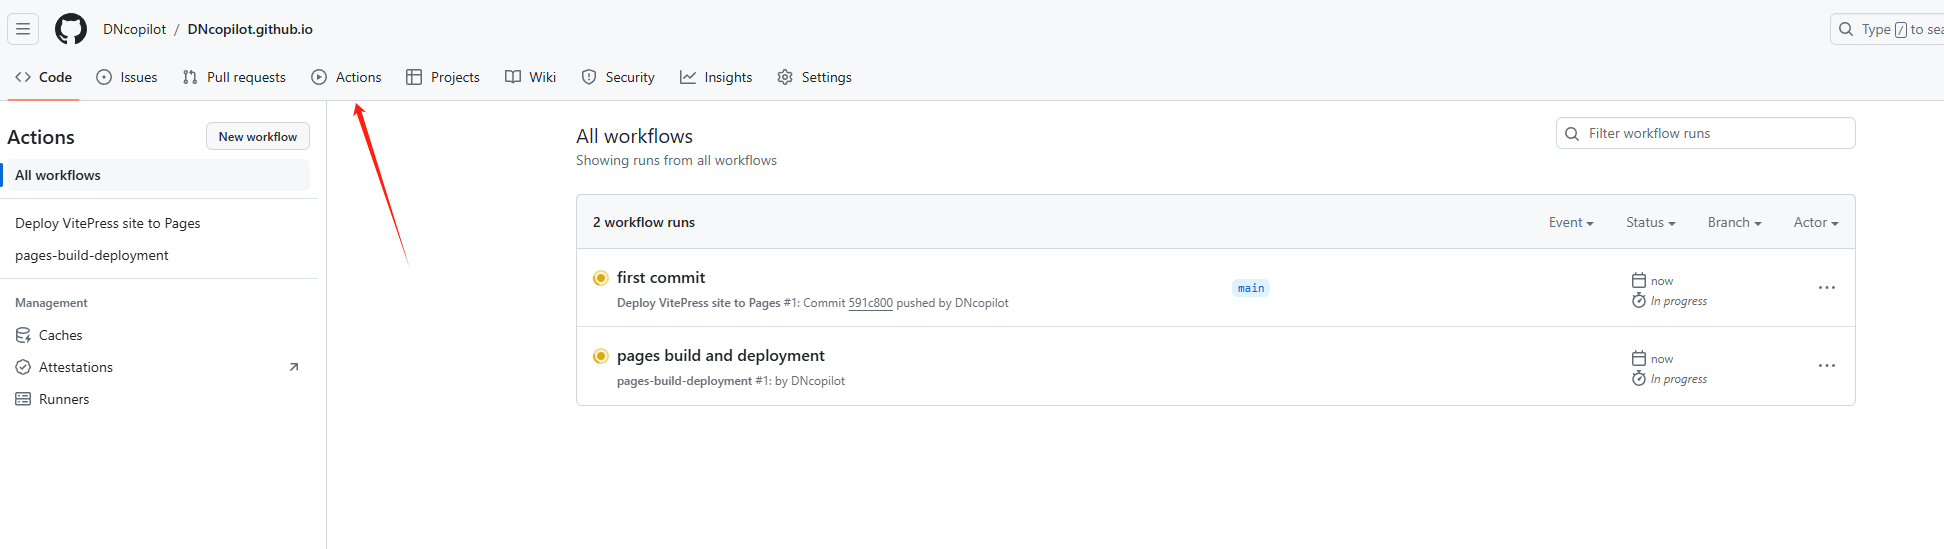
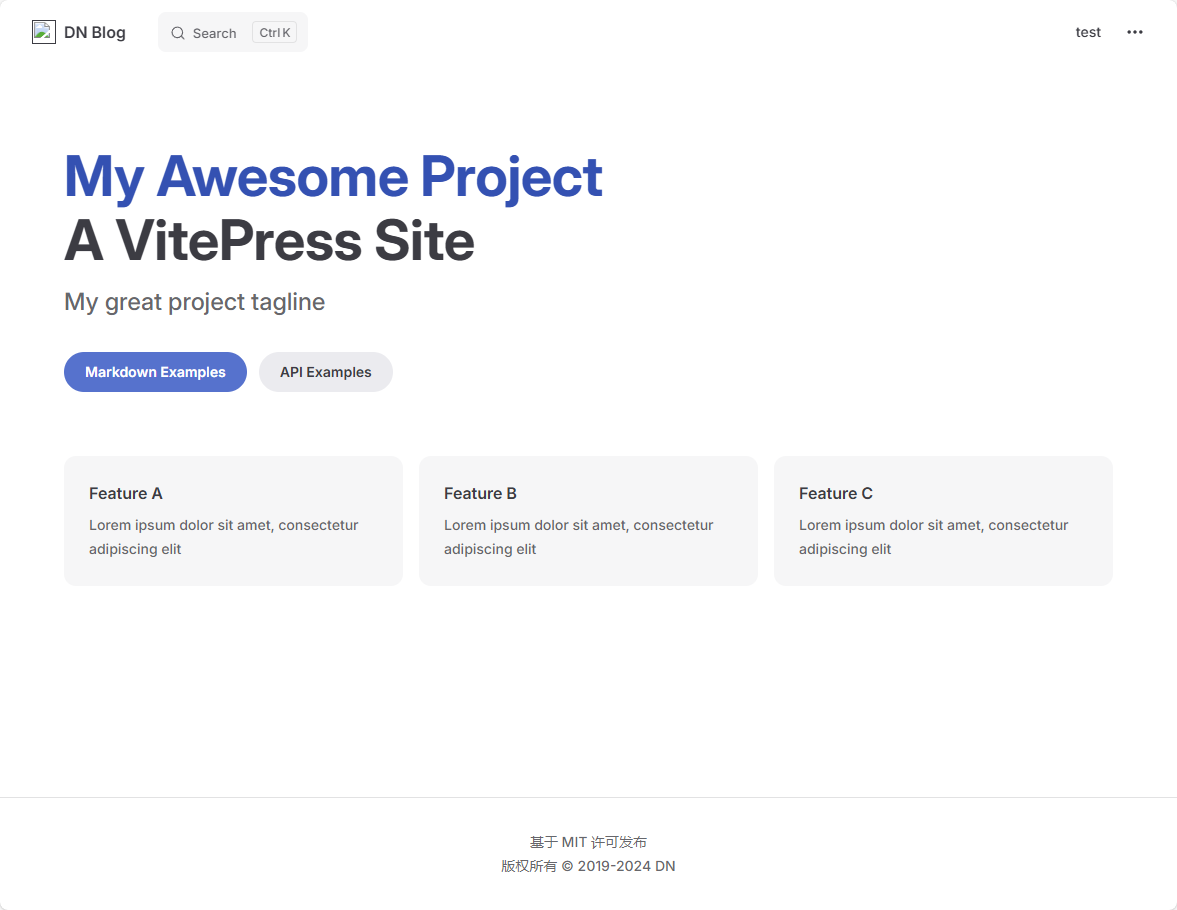
部署成功后,你可以在浏览器中访问 https://{github name}.github.io 访问你的 VitePress 文档。
后续工作
你可以在本地编辑文档,然后提交到远程仓库,GitHub Actions 会自动部署到 GitHub Pages。
如果需要修改部署配置,请编辑 .github/workflows/deploy.yml 文件。